


- Site Navigation -
NEWS LIST
What is the Correct Way to Tighten a Scaffold Coupler?
Author:yicheng Date:2025-09-03 17:45:53 Hits:192
Tightening scaffold couplers correctly is critical to ensuring structural stability and preventing accidents—improper tightening(too loose or too tight)can lead to coupler slippage,tube damage,or bolt failure.The process must align with British/European standards(e.g.,EN 74-1,EN 74-2)and manufacturer guidelines.Below is a step-by-step guide to the correct method,along with key safety principles:
1.Pre-Tightening Checks(Critical First Steps)
Before tightening,verify that the coupler,tube,and tools are in good condition—defects here can render even proper tightening ineffective:
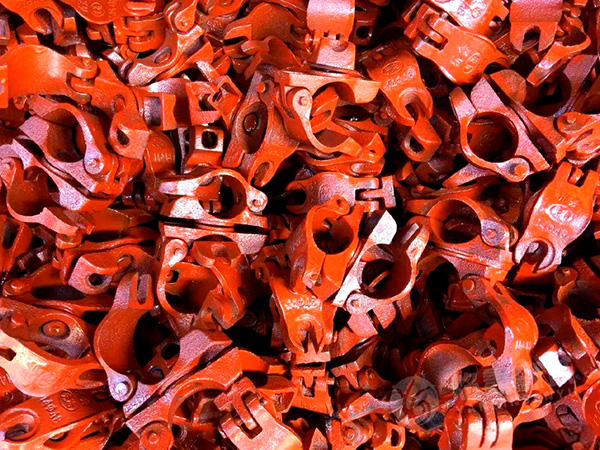
Inspect the Coupler:Check for cracks,bent jaws/sleeves,worn threads(on bolts),or damaged washers.Reject any coupler with visible damage(per EN 74-1,damaged couplers fail load-bearing requirements).
Inspect the Tubes:Ensure tube ends are clean(no dirt,rust,or debris)and free of dents/corrosion.Debris can prevent the coupler from gripping the tube securely,while dents weaken the tube’s connection point.
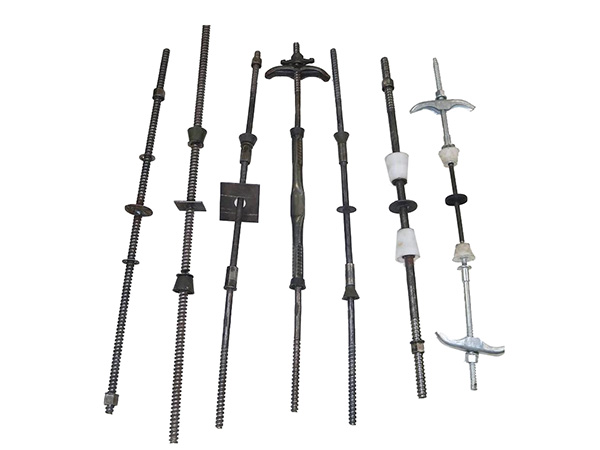
Use the Right Tool:Always use a calibrated torque wrench(not a regular spanner or adjustable wrench).Torque wrenches ensure you apply the exact force required—uncalibrated tools lead to inconsistent tightening.For EN 74-compliant couplers,the tool should measure torque in Newton-meters(Nm)(the standard unit for this application).
2.Position the Coupler Correctly on the Tubes
Proper alignment of the coupler and tubes ensures even load distribution:
For Right-Angle/Swivel Couplers:Place the coupler jaws fully around the tubes so that the tube surfaces make complete contact with the coupler’s inner gripping area.Ensure the tubes are positioned to form the intended angle(90°for right-angle couplers;desired angle for swivel couplers)before tightening—never force the angle by over-tightening.
For Sleeve Couplers(Straight Tube Extensions):Slide the sleeve over the ends of the two tubes so that the tubes overlap by the minimum length specified by the manufacturer(typically 150mm for 48.3mm tubes).The sleeve must cover the overlapping section evenly—avoid offsetting the tubes(this creates uneven stress).
For Parallel Couplers:Clamp the jaws around the two parallel tubes,ensuring both tubes are fully seated in the coupler(no gaps between the tube and coupler jaws).
3.Apply the Standard Torque Setting
The correct torque depends on the coupler type and standard(EN 74-1/2),but 50 Nm is the universal benchmark for most EN 74-compliant steel couplers(e.g.,right-angle,swivel,parallel couplers with M14 bolts).Follow these steps to apply torque:
Insert the torque wrench onto the coupler’s bolt head or nut(ensure a secure fit to avoid slipping).
Slowly turn the wrench clockwise,applying steady pressure—do not use“jerky”movements(this can cause over-tightening or tool slippage).
Stop when the torque wrench emits a click(most modern torque wrenches have a click mechanism to signal the target torque is reached).Do not continue turning after the click—over-tightening can strip bolt threads,bend coupler jaws,or crush the tube.
Exceptions to the 50 Nm Rule:
Wedge-Type Couplers:Some lightweight or specialized couplers use a wedge(not a bolt)for tightening.For these,follow the manufacturer’s guide—typically,you tap the wedge with a 500g hammer(as specified in EN 74-1 testing)until it is fully seated(no movement when wiggled).
Aluminum Tubes/Couplers:Aluminum has lower tensile strength than steel.Use a lower torque setting(usually 35–45 Nm)as specified by the coupler manufacturer—over-tightening will crush aluminum tubes.
4.Post-Tightening Verification
After tightening,confirm the connection is secure and compliant:
Check for Secure Grip:Gently wiggle the tubes by hand—there should be no movement or“play”between the coupler and tubes.If the tubes shift,the coupler is too loose(re-tighten to the correct torque).
Inspect for Damage:Check the tube surface for indentations or crushing(signs of over-tightening)and the coupler bolt for thread stripping.If damage is found,replace the coupler/tube immediately.
Repeat for Loosening Cycles(For Critical Connections):For high-load areas(e.g.,base couplers,diagonal braces),perform 5 tightening-loosening cycles(as required by EN 74-1 testing)before the final tightening.This helps“seat”the coupler and ensures the torque remains stable over time(loose couplers often loosen further after initial use if not cycled).
5.Ongoing Maintenance Checks
Tightness can loosen over time due to vibration,load changes,or temperature shifts.Conduct regular re-checks:
Daily Checks:Before each work shift,visually inspect couplers for signs of loosening(e.g.,gaps between coupler and tube,bolt movement).
Weekly Torque Re-Checks:Use the calibrated torque wrench to re-test 10–15%of couplers(focus on high-stress areas like corners or load-bearing points).Re-tighten any couplers that have fallen below the required torque.
Key Safety Rules to Never Ignore
Never Over-Tighten:Exceeding the torque limit breaks EN 74 standards and damages components(bolts,tubes,couplers)—this is just as dangerous as under-tightening.
Never Use Damaged Tools:Uncalibrated torque wrenches,bent spanners,or tools with worn bits lead to incorrect torque.Calibrate torque wrenches annually(or after heavy use)to maintain accuracy.
Follow Manufacturer Guidelines:Some couplers(e.g.,specialized heavy-duty models)may have unique torque requirements—always cross-reference the manufacturer’s manual with EN 74 standards.
By following this process,you ensure the coupler-tube connection meets British/European safety standards,resists slip under load,and protects workers from scaffold collapse.

Contact Us
Tel:+86-15831733891
E-mail:yichengbuildingmaterials@gmail.com
Add:100 meters south of Weicun Village, Hechengjie Town, Xian County, Cangzhou City, Hebei Province
Url:https://www.yc-buildingmaterials.com